
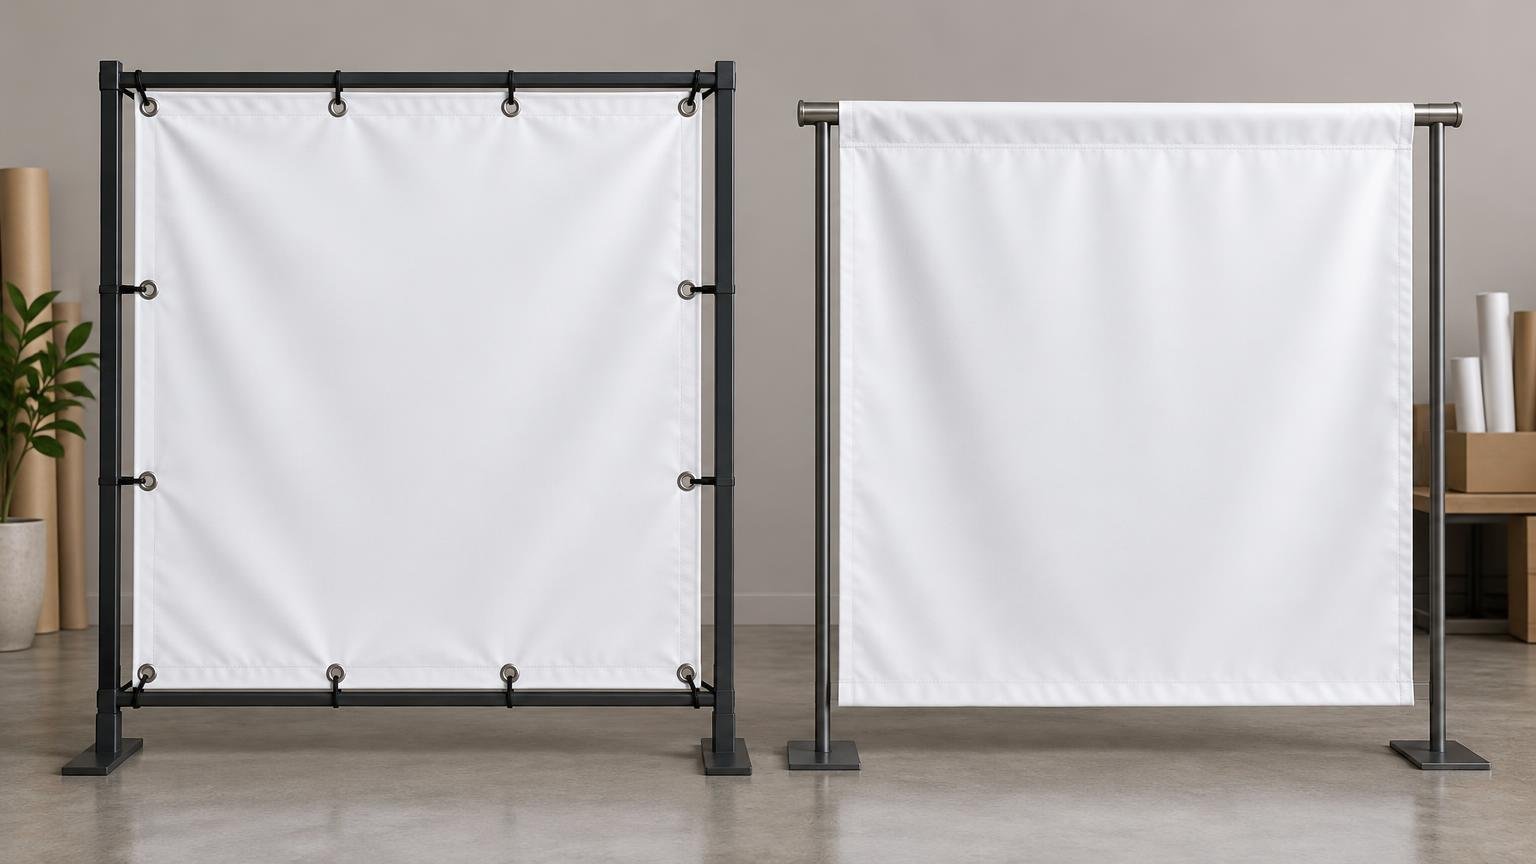
TLDR: For ordinary banner grommet spacing, start with a grommet at each attached corner and additional grommets about every 24 to 36 inches along the supported edges. That is a purchasing and layout baseline, not a universal structural standard. A fence installation, rigid frame or exposed outdoor location may require a different pattern, while a banner suspended from a rod may work better with pole pockets instead of grommets.
The most important question is not simply how far apart the holes should be. It is how the banner will be mounted. Grommets belong on the edges that will actually be supported, and their positions need to match the ties, hooks, frame or other hardware. Ordering “standard grommets” without checking the mounting plan is how a tidy print becomes an awkward installation project.
The practical banner grommet spacing baseline
Commercial banner guidance commonly uses corner grommets plus intermediate grommets at approximately 24- to 36-inch intervals as a starting point. One banner supplier describes a broader standard range of roughly two to four feet. Another installation bulletin recommends grommets every two feet along the banner length, positioned in the hem through two material layers. The MAGIC banner installation bulletin also calls for reinforced corners and even tension without pulling the banner excessively tight.
These recommendations overlap, but they are not a promise that one spacing works everywhere. Use 24 inches when you want a more closely distributed attachment pattern and the printer, hem and mounting setup support it. Use up to 36 inches for an ordinary, sheltered installation where the hardware and banner supplier permit it. Never treat closer spacing as a substitute for suitable material, reinforced finishing or properly designed mounting hardware.
What the finishing terms mean
A grommet is a reinforced eyelet installed through the banner edge. The tie, hook or cord passes through its opening rather than directly through the vinyl. A hem is a folded or reinforced edge that gives the grommet more material to bear against. Reinforced corners or webbing add support in areas where attachment forces are concentrated.
These features solve related but distinct problems. A standard hem strengthens the edge. Webbing reinforcement adds another load-spreading component. Reinforced corners address the areas that often receive concentrated pull. A pole pocket creates a sleeve for a rod or pole and can eliminate the need for regularly spaced grommets along that edge. Banner printers may offer standard hems, webbing-reinforced hems, reinforced corners and pole pockets as separate finishing choices.
A #2 grommet is a commonly offered banner-hardware size, but confirm the actual opening rather than ordering by number alone. Stimpson identifies its #2 grommet and washer for vinyl, polyester and mesh-vinyl banner applications, and lists a 3/8-inch hole for the cited model. Stimpson’s #2 banner-grommet specifications Your printer’s hardware may differ, and the opening still needs to fit the intended hook, rope or tie.
Five decisions that determine the layout
1. Mounting method
A banner screwed to a wall, tied to a fence and clipped into a proprietary frame does not need the same layout. Start with the hardware. If a frame manual gives exact positions, those positions outrank a generic 24- to 36-inch rule.
2. Supported edges
Specify whether the banner will be attached along the top only, top and bottom, all four sides or selected points. A top-and-bottom layout needs no intermediate side grommets unless those sides will also be tied. A perimeter fence installation normally needs attachment points on all four edges. This distinction can change both the grommet count and the required reinforcement.
3. Banner dimensions
Spacing should be distributed evenly instead of leaving a small, awkward final gap. A 96-inch edge with a 36-inch maximum gap should be divided into three equal intervals of 32 inches, not two 36-inch intervals followed by one 24-inch interval. The count is easy to calculate once the supported edges are known.
4. Material and finishing
Grommet quantity alone does not determine durability. Material, hem construction, corner reinforcement, grommet installation and the way the hardware bears against the banner all matter. If the banner is for a demanding outdoor location, compare those factors alongside the material guidance in our guide to banner materials for windy outdoor events.
5. Exposure and site conditions
Wind and movement can repeatedly load the attachment points. A more exposed installation may justify closer attachment intervals, stronger finishing or a mounting system designed for that location, but the supplied evidence does not establish a universal wind-safe spacing. Large, elevated or public-facing installations should follow the frame manufacturer’s instructions and any requirements set by the venue, installer or responsible local authority.
Starting layouts by mounting method
| Installation | Supported edges | Useful starting approach | What to verify |
|---|---|---|---|
| Indoor wall banner | Usually top and bottom, or all four sides | Corners plus evenly spaced points up to 24–36 inches apart | Wall fasteners, appearance and whether the bottom must be restrained |
| Sheltered vinyl banner | Edges used by the mounting hardware | Corners plus roughly 24–36-inch intervals | Hem, corner reinforcement and actual attachment points |
| Fence banner | Usually all four sides | Even perimeter spacing, often toward the closer end of the starting range | Fence openings, tie positions, movement and material suitability |
| Exposed outdoor banner | Installation-specific | Do not rely on spacing alone; coordinate material, reinforcement and hardware | Site conditions, installer guidance and hardware requirements |
| Existing frame | Whatever the frame specifies | Match the frame’s required hole pattern exactly | Finished size, grommet centers and compatible hardware |
| Pole or rod mounting | Pocket edges rather than regularly spaced tie points | Consider pole pockets instead of grommets | Pocket dimensions, pole diameter and any needed side restraints |
A proprietary system can depart substantially from the ordinary baseline. For example, BannerGrip’s large-banner hook instructions specify 12-inch spacing across the top and 18-inch spacing on the left, right and bottom. BannerGrip’s installation manual That is not a general recommendation for every banner; it illustrates why the hardware maker’s pattern controls when you use a particular system.
How to calculate grommet positions
Calculate each supported edge separately. This prevents the common mistake of estimating a total from the banner perimeter without accounting for which edges will actually be attached.
- List the supported edges and write down each finished edge length in inches.
- Choose the maximum permitted gap based on the printer’s guidance, mounting hardware and installation plan. For an ordinary preliminary layout, that might be 24 or 36 inches.
- Divide an edge length by the maximum gap and round the result up. This gives the number of intervals.
- Divide the edge length by that rounded interval count. The result is the even spacing between grommet centers along that edge.
- Add one to the interval count to find the number of points on a single edge, including both endpoints.
- For a full-perimeter total, count each corner only once because adjacent edges share it.
In formula form: intervals = round up(edge length ÷ maximum gap). Actual spacing = edge length ÷ intervals. Points on one isolated edge = intervals + 1.
For a rectangle with grommets around the complete perimeter, the unique point count is twice the interval count for the width plus twice the interval count for the height. That formula assumes all four corners receive grommets. Confirm the printer’s edge offset and finished-size coordinate system before converting the calculation into production instructions.
Illustrative 3 × 6-foot and 4 × 8-foot layouts
These examples are layout illustrations, not site-specific engineering recommendations. They assume endpoint grommets near the corners and evenly distributed intermediate positions.
| Banner and maximum gap | Top and bottom only | All four sides | Resulting even spacing |
|---|---|---|---|
| 3 × 6 ft at 24 inches | 4 per long edge; 8 total | 10 unique perimeter grommets | 24 inches on 72-inch edges; 18 inches on 36-inch edges |
| 3 × 6 ft at 36 inches | 3 per long edge; 6 total | 6 unique perimeter grommets | 36 inches on 72-inch edges; 36 inches on 36-inch edges |
| 4 × 8 ft at 24 inches | 5 per long edge; 10 total | 12 unique perimeter grommets | 24 inches on both edge lengths |
| 4 × 8 ft at 36 inches | 4 per long edge; 8 total | 10 unique perimeter grommets | 32 inches on 96-inch edges; 24 inches on 48-inch edges |
Notice that adding side support does not mean simply doubling the top-and-bottom count. Perimeter corners are shared. Also notice how a maximum gap produces smaller actual intervals when the edge length does not divide evenly. That is preferable to creating one conspicuously short leftover section.
When pole pockets are the better choice
Choose pole pockets when the banner is intended to hang from or stretch between rods, such as a crossbar display or street-pole-style setup. A pocket spreads support along an edge and produces a cleaner line than a row of visible ties. It may also make installation faster when the compatible rod is already part of the display.
Grommets remain more flexible for fences, temporary wall installations and locations where the attachment points may vary. Some jobs use both: pole pockets on the principal supporting edges and grommets at selected points to control the sides. Do not assume a pocket and a hem are interchangeable, because the pocket needs to be sized for the pole and accounted for in the artwork and finished dimensions.
What to put on the print order
Do not stop at “add grommets.” Give the printer enough information to produce a layout that matches the installation. If custom placement is important, request a finishing diagram or proof showing the grommet centers relative to the finished banner size.
- Finished banner width and height
- Which edges need grommets
- Maximum spacing or exact center positions
- Whether corner grommets are required
- Required hole diameter or compatible hardware size
- Hem type and any webbing or corner reinforcement
- Pole-pocket dimensions, if applicable
- Whether artwork must avoid hems, pockets or hardware
- Indoor or outdoor use and a plain-language description of the mounting setup
- The printer’s tolerance for grommet position and finished size
Printer-specific finishing options, custom placement, production estimates and prices can change. Verify the available configuration before approving the order. For a broader look at file preparation and other oversized products, see our smart-ordering guide to large-format printing.
Why banners tear near grommets
A tear near an eyelet does not automatically prove that the grommets were too far apart. Possible contributors include excessive tension, movement, unsuitable or damaged material, weak edge construction, an incorrectly installed grommet, concentrated corner loading or hardware that pulls at an angle.
Inspect the entire setup rather than adding more holes immediately. Check whether the banner is pulled drum-tight, whether every attachment shares the load, whether a corner is doing most of the work and whether the hardware rubs or cuts against the eyelet. The installation guidance cited earlier calls for even tension that is taut but not excessively tight. If the location is exposed or the failure could create a hazard, involve a qualified installer rather than improvising a denser pattern.
Can you add grommets after delivery?
It may be possible with appropriate setting tools and compatible grommets, but a post-delivery hole is only useful if it passes through a suitable reinforced area and lands where the hardware needs it. Punching an unreinforced section can create a new weak point, and a poorly set eyelet may damage the print rather than rescue it.
Ask the original printer whether the banner can be returned for modification or whether it can recommend compatible hardware. For a high-value, large or exposed banner, professional alteration is usually more sensible than learning grommet setting on the finished piece. The banner has already volunteered to be signage; it does not need to become the practice material too.
The final decision
Use 24 to 36 inches as a practical first draft for banner grommet spacing, then redesign the pattern around the actual mounting method. Identify the supported edges, calculate evenly distributed intervals, match the holes to the hardware and specify suitable hems or reinforcement. If a frame or display system gives exact dimensions, follow those instead of the generic range.
Before ordering, send the printer a finished-size diagram and confirm the grommet centers, hole size, edge offset and finishing options. That five-minute check is far cheaper than discovering on installation day that every hook sits halfway between two beautifully finished holes.